As your business grows its natural to expand and new locations or branch out into different mediums. Client Diary is built from the ground up to support multi locations / multi sites. To create a new site:
- Select the My Account menu on the left
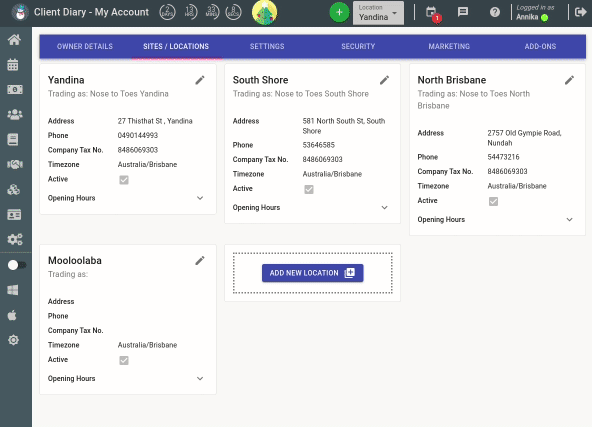
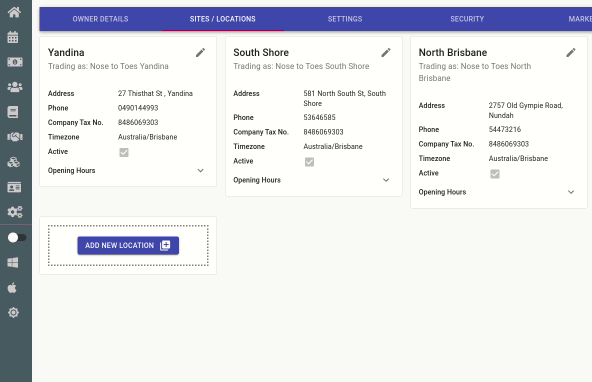
- Choose the Sites / Locations tab at the top
- Press the Add New Location button
- Give the location a Name and press Next
- Select any employees that will work at the new location and press Next
- Choose any services that will be performed at the new location and press Next
- Pick any products that will be performed at the new location –
- IMPORTANT NOTE: If you have a lot of products, pressing SELECT ALL will appear to freeze the system.
- Be patient and Don’t Press The Button Again. They will eventually appear on the right
- Press the Create Site button – IMPORTANT NOTE: This can take some time if you have a lot of services/products.
- Be patient and Don’t Press The Button Again. It will appear when it’s finished preparing the data.
Things You Should do After Adding a New Site / Location
Once the above step is done, the following topics should be worked through to ensure the new site is setup fully:
- Add any details required such as Trading Name, Address, Phone, Company Tax Number
- From this page you may also set the opening hours of the new location, read here for more information.
- If you have any new employees to add, read here on how to add them.
- You are able to setup employee rosters by location. Read here on how to do this.
- To setup security for new staff, read this topic for standard security, this topic for multi site security with reporting and this topic for calendar switching restrictions.
- If you have any specific services to add that are only at that location, read here on how to add services.
- If you have any new products to add in the new location, read here on how to add products.