Client Diary allows you to use modern tagging to draw a client’s attention to Services you want them to focus on. For example, you may have a Valentine’s special or a deal on certain Services you want your clients to see clearly. Tags allow for this.
Creating Service Tags
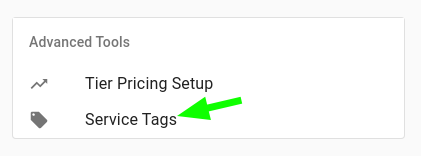
- Head to the Services menu
- Select Service Tags in the Advanced Tools area
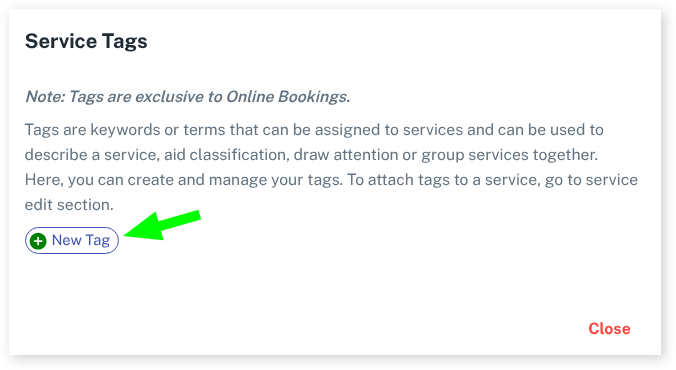
- Press + New Tag
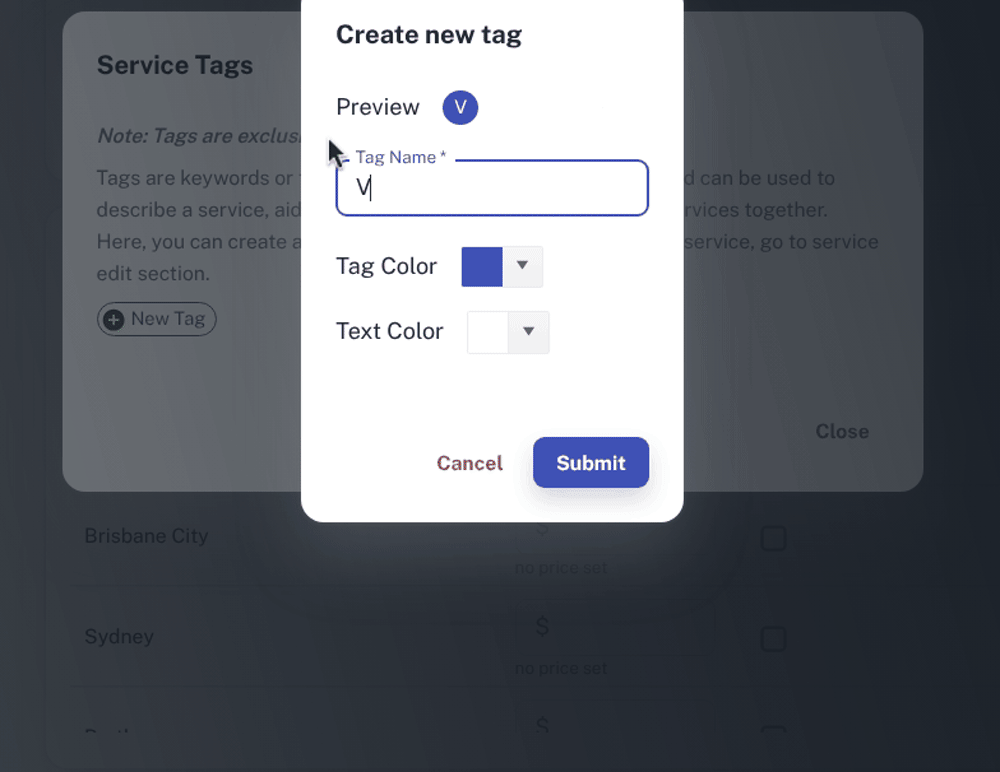
Here you can enter your information and choose colours.
- Give the Tag a name
- Select a colour for the Tag
- Adjust the font colour to make it readable against your chosen background
- Press the Submit button
TIP: If you want to use Emojis, head to https://unicode.org/emoji/charts/full-emoji-list.html and simply select, copy and paste the emoji/s you wish into the Name for your tag.
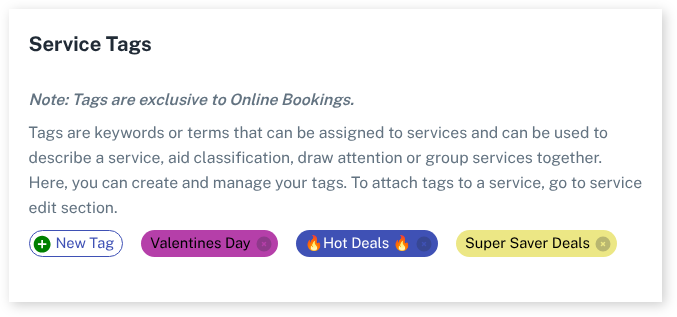
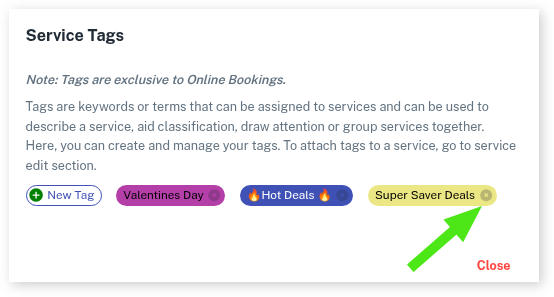
TIP: You can repeat this process to add as many tags as you wish. Below shows 3 x tags created and ready to use.
Assigning Service Tags to a Service
Once you have a tag created, you can assign it to a Service. To do this simply:
- Head to the Services menu
- Select the Service you wish to assign the Tag to
- Press the + Assign tag button
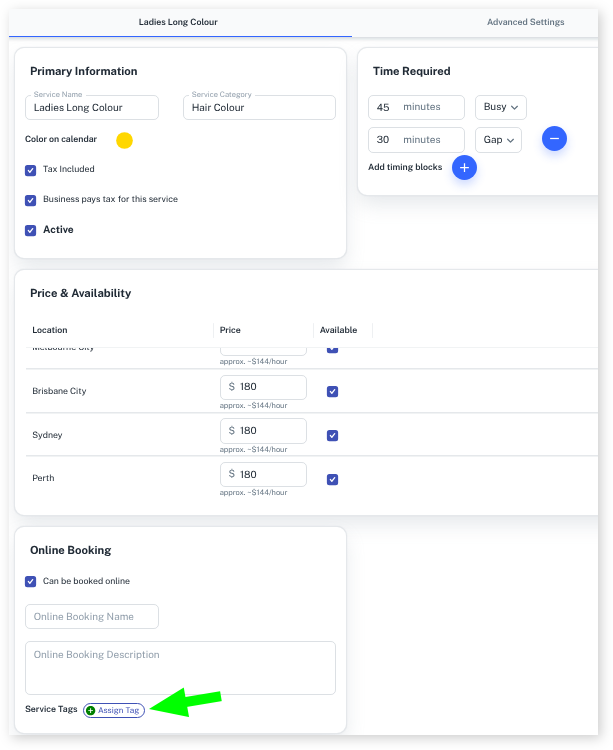
- Choose the Tag you wish to assign (you can choose more than one)
- Press the Save button
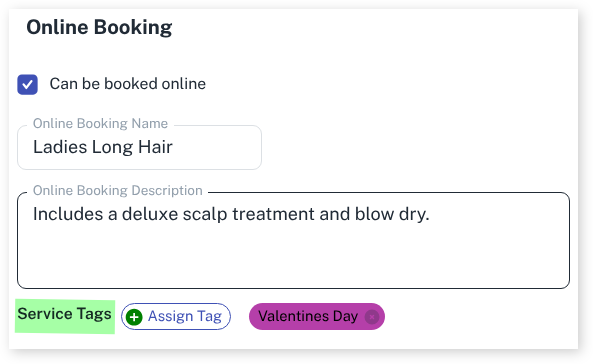
You will then see the Tag next to the Service Tags heading in the Service settings as shown below.
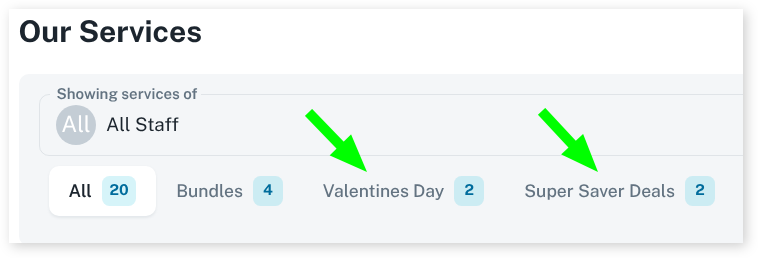
Using the Service Tags During Online Booking
When a client makes a booking, if there are Service Tags, they will be shown at the top of the screen. Below shows an example:
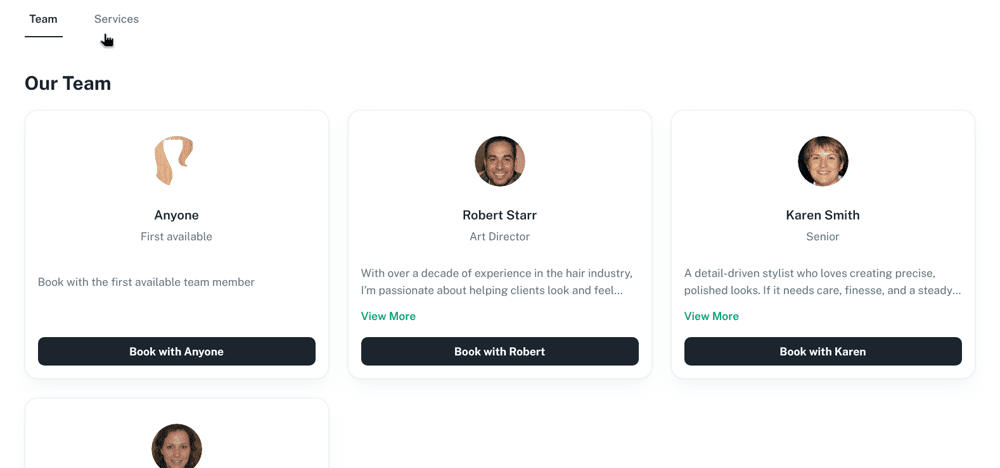
The customer can toggle between the Tags to show Services that the Tag is assigned to. This is shown in the video below:
How to Remove a Tag
To remove a Service tag that is no longer needed:
- Head to the Services menu
- Select Service Tags in the Advanced Tools area
- Click on the cross of the tag you want to remove
- Click on Yes to permanently delete the tag
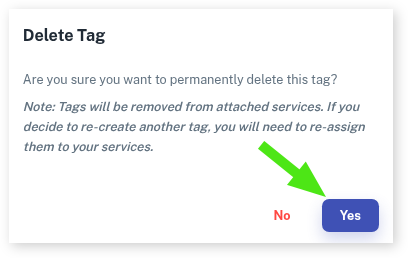
Please note that the tag will be removed from attached Services. If you decide to recreate another tag, you will need to reassign them to your Services.