You can assign different levels of security to each employee. This allows you to determine which employee can see which part of the software.
Here are the steps to do this:
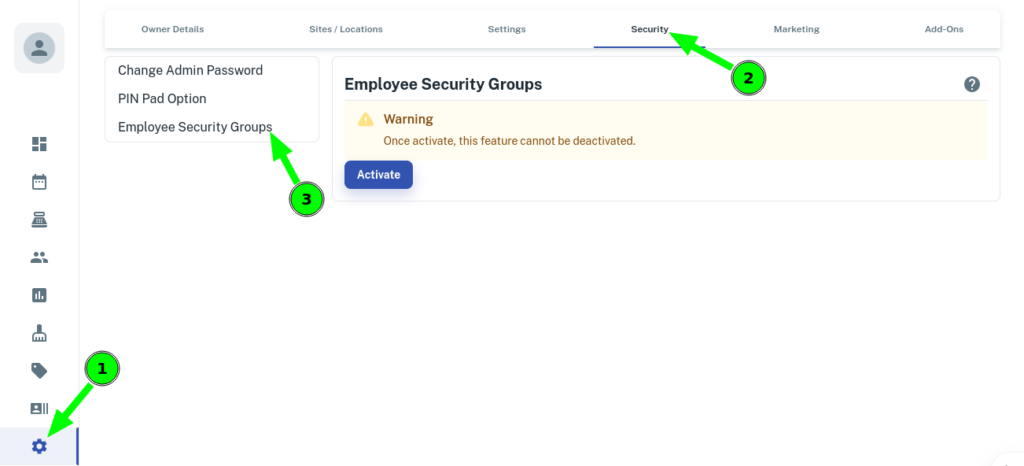
Turn on the Security Groups system
- Select the My Account Menu
- Click the Security Tab
- Choose the Employee Security Groups
- When first setting up, Press the Activate button
Setting the Security Group Options
Once this is done, EVERY employee (except the owner account) is assigned to the group called “Normal Employee”.
- You can click on the different levels (Manager and Normal Employee) and determine what each group can and can’t do.
- Have a look at the options available, make the changes that you want for your employees, then press the Save Button.
Note: You can not change the All Access group.

Changing which employees are on which group
The next step is for you to choose which employee is on which group.
To do this:
- Choose the Employees Menu
- Select the Employee Name
- Press the Add/Edit Details Tab
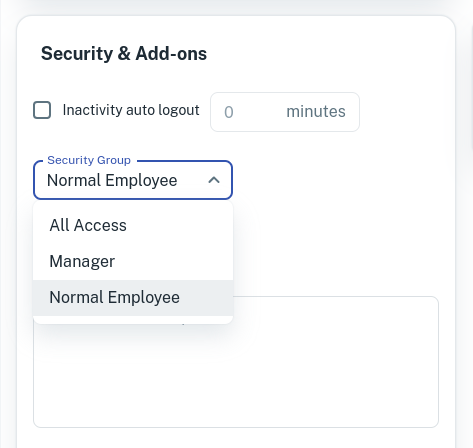
- Scroll down to the Security & Add-ons options
- Drop down the Security Group option and select the appropriate group
NOTE: Normal Employee group can’t change their own security group by default. You may need to log in as the owner account to do this initial security group change.
Your employees will now only be able to have access to the specific parts of the software that you deem appropriate.
CHANGING WHICH EMPLOYEES CAN VIEW REPORTS & TAKE ON LINE BOOKINGS
As a final step you need to assign permissions to view reports and take online bookings to the appropriate employees. This section is immediately above the Security Groups part of the menu.
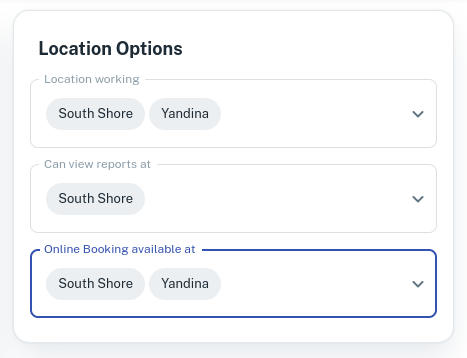
Please note you can also indicate what sites the employee works from at this point.
- Press the Save button
- Repeat for any other employees that need modification.