When a client cancels a booking it would be great to be able to fill the time as soon as possible. You can use the Waitlist feature to grab someone on your waiting list and fill that empty gap, keeping the income flowing in.
How to Add an Appointment to the Waitlist
To do this:
- Select the Calendar menu
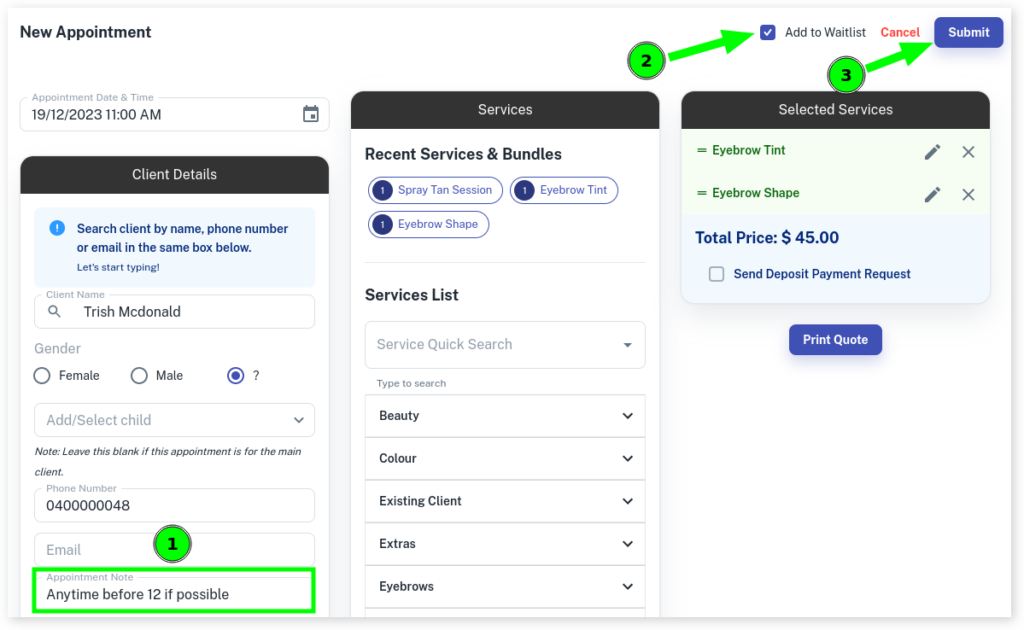
- Begin the creation of an Appointment like normal but Don’t Press the submit button
- Optional: Write in the Appointment Note any information about the appointment, such as when they are available if a appointment becomes available
- Select the Add To Waitlist checkbox
- Click on the Submit button
How to Tell How Many Clients are in the Waitlist
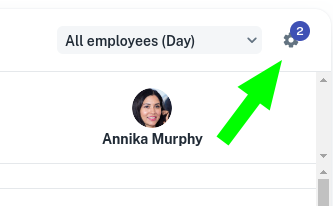
As you move through your Calendar days keep an eye out for a number in the Settings (gear) icon. This number represents how many people are in the Wait List for that day.
How to Access the Waitlist in Client Diary
- Select the Calendar menu
- Press the Settings (gear) menu
- Press Waitlist

Finding What Days Have Bookings on the Waitlist
Select the date picker (the Calendar symbol) to see dates with appointments currently on the Waitlist.
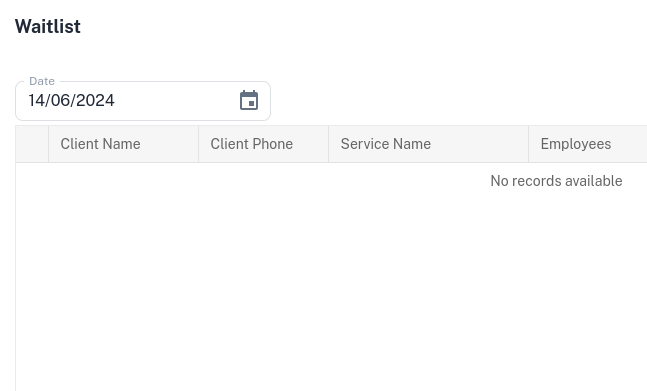
You can also click on Show All Waitlist to view all appointments currently on the Waitlist.

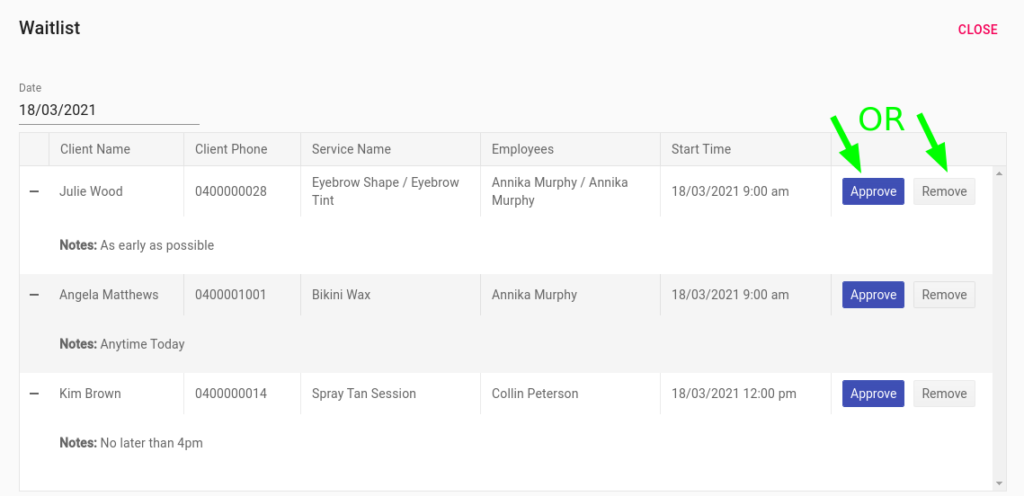
Approve or Cancel Someone on the Waitlist
Once in the Waitlist, a client can be approved or removed
A click on either option will give the desired outcome.
Editing the Note on an Appointment
If needing to edit a note left on an appointment on the Waitlist;
- Press the plus symbol to open up the booking to see the note
- Click the pencil symbol to edit the note
- Type in any changes
- Select Save.

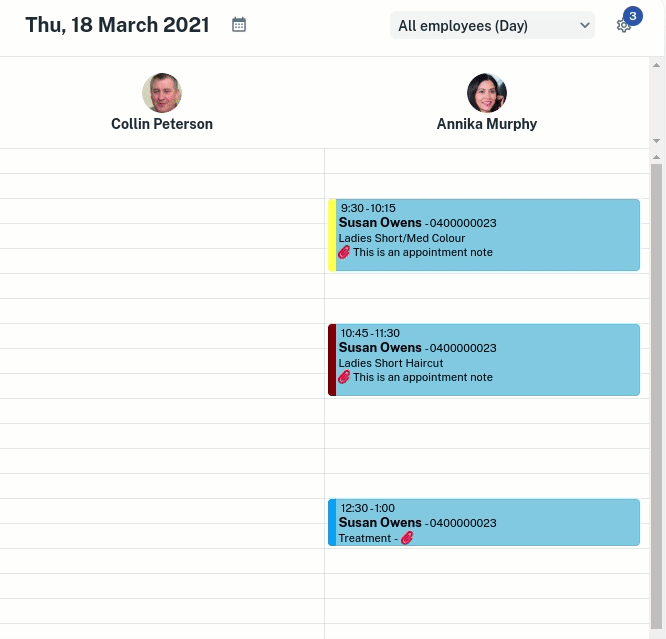
Showing the Waitlist on the Calendar
To better see how the appointments on the Waitlist match with current bookings, you can show the Waitlist on the Calendar.
- Select the gear symbol on the right of the Calendar to show different options.
- Press the toggle for Show / Hide Wait list Appointments
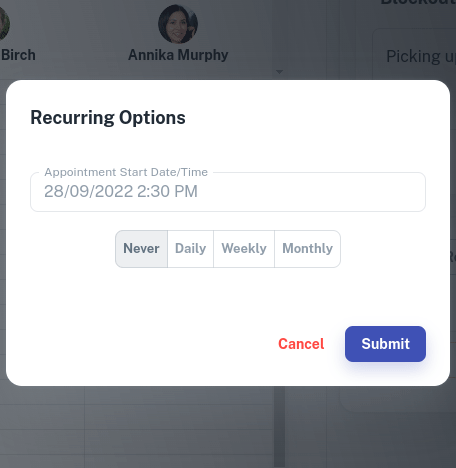
Making the Waitlist Recurring
After viewing the Waitlist appointments on the Calendar, you can choose to Approve / Deny the booking, make any changes or make the Waitlist appointment recurring.
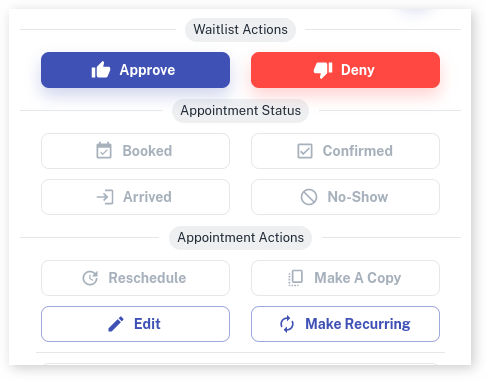
- You can then select between Daily, Weekly and Monthly
- Enter a value for How Often you would like the appointment to recur
- Enter a Number of Occurrences you would like. Note: There is a maximum of 50
- Press Submit