Although you can use the Add/Edit Stock tool to add new stock and make changes to individual stock there will come a time where you want to change a lot of stock at once. Client Diary has a powerful, yet easy to use tool that allows you to make large changes to your stock quickly.
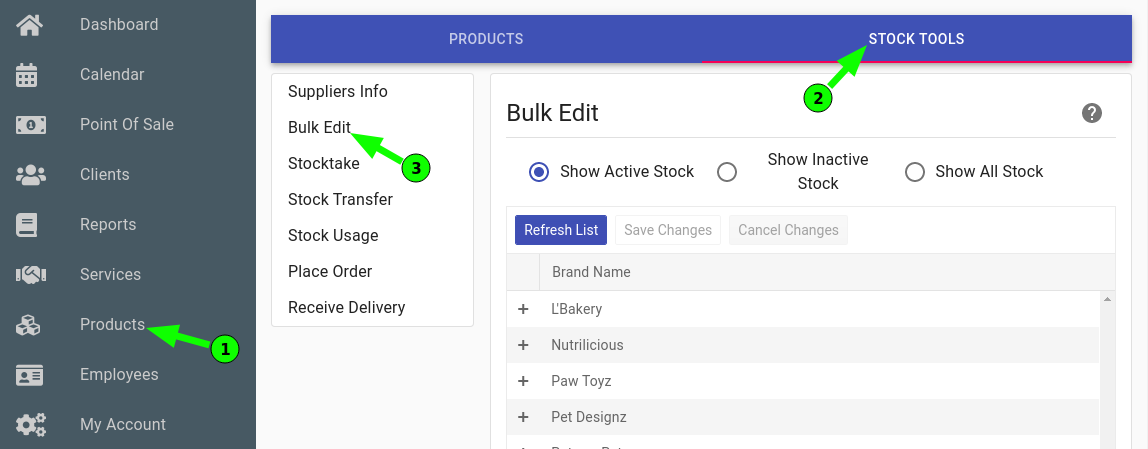
- Select the Products Menu
- Press the Stock Tools Tab
- Click on Bulk Edit
How to Edit a Brand name
- Click on the brand’s name, type a new name and press the Save Changes button.
How to Edit a Line name
- Click on the line’s name, type a new name and press the Save Changes button.
How to Edit a Single Product’s settings
You can change any main setting a product has with the Bulk Edit tool. The general rule is to select the product’s details you want changed, make the change and press the Save Changes button. The video below shows a product having all its details changed to show the complete use of the tool.
The following can be changed:
- Product Name : The name of the product.
- Usage / Retail : Do you USE the product or do you SELL the product? Select appropriately.
- Supplier : Which supplier you use to purchase this product. If you haven’t set them up, do this first.
- Purchase Price : How much you pay the supplier for the product.
- Active : If active, the product is visible. If Inactive, it’s hidden and acts as though it’s deleted.
- Retail Price : What price you sell the product for.
- Level Set : How many you want on the shelf when fully stocked after an order.
- Current Stock : How many you currently have on hand.
- Available : Is the product available at this location? You may have a product at one site/location but not another.
How to Edit Multiple Product’s settings at once
One of the main uses of the Bulk Edit tool is when you want to edit many stock items at the same time. The idea is you select the items you want changed, then you change the details of ONE product and you will see the details of ALL products changed at the same time. The video below shows this in action.
How to move a product to another line
You may have accidentally added a product to the wrong line. Rather than deleting and re-creating, simply move the product.
- Select the product.
- Press the Move Selected Products button
- Choose the new Line and press the Save button (note the line must already exist. To create a line, this must be done in the product Add/Edit tool)
- Be sure to press the Refresh List button at the top. This will reload the products in their correct lines and show the results of the move you just performed.
