Forms are quick and easy to create. This guide will show how to set up and edit a basic form.
Where to Find Forms
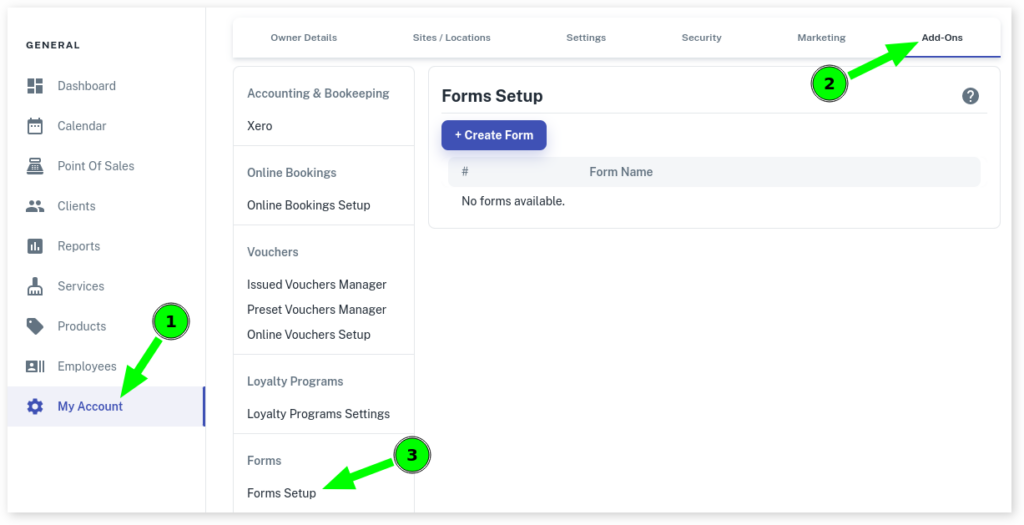
- Select the My Account menu
- Click on Add-Ons tab
- Press Forms Setup
Creating Your First Form
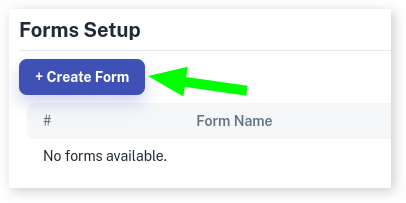
- Start by Pressing +Create Form
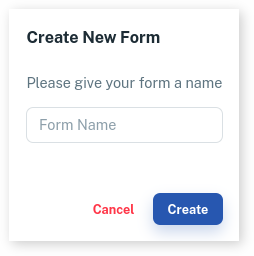
- Then give your Form a Name
- Optional: Select from a Template

- Press Create
- Now created, press the Edit (pencil) button to edit your form to personalise it

Form Editing
Adding different sections to your form can be done by clicking or dragging the different Toolbox options on the right of the screen.
Below is a brief description of the standard tools.
Logos
Add your business logo by pressing the Logo option on the right.

This will then add in your current logo set in Client Diary.

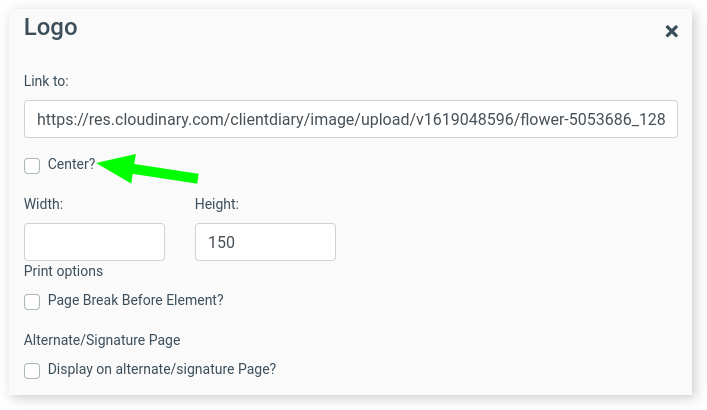
While this is automatically set to display on the left, you can select it to be displayed in the middle if desired.

Here you can find settings to display logo in the middle and other options
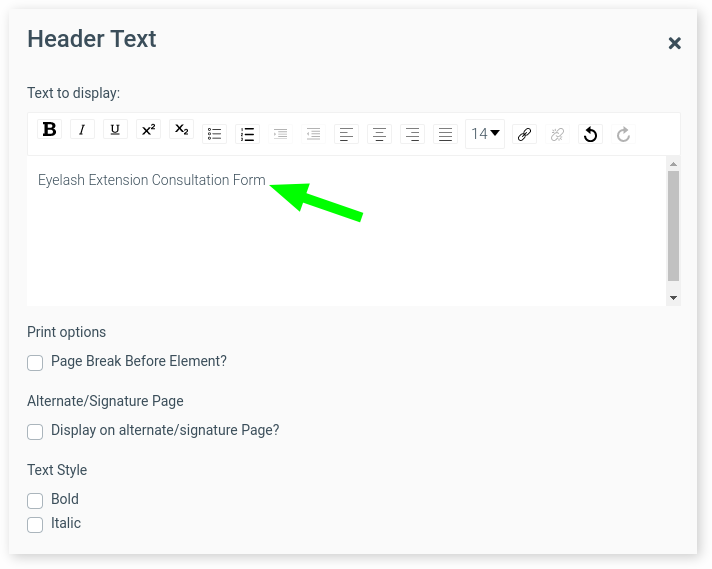
Header
Adding a heading is great to let your clients know what they are filling out.

Press Edit to add in text

Now Enter header and customise as wanted
Paragraph
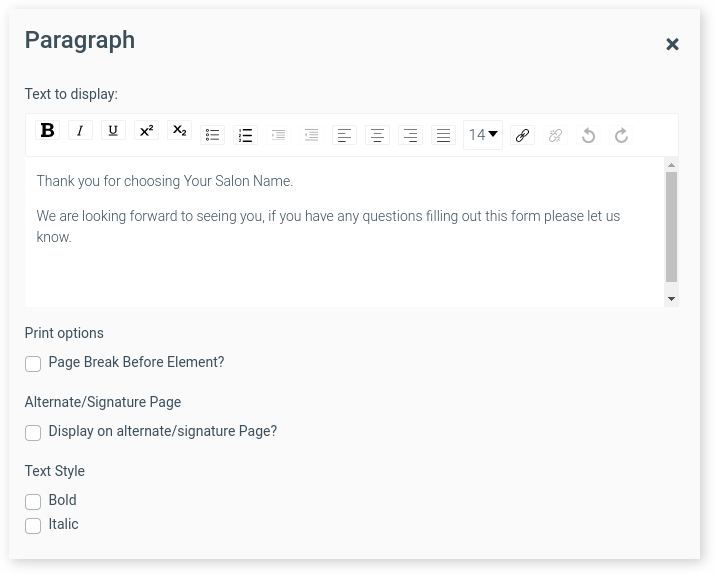
Adding a sentence or a few words to your form.

To add in text, press the Edit button

Enter in text as needed
Text Inputs
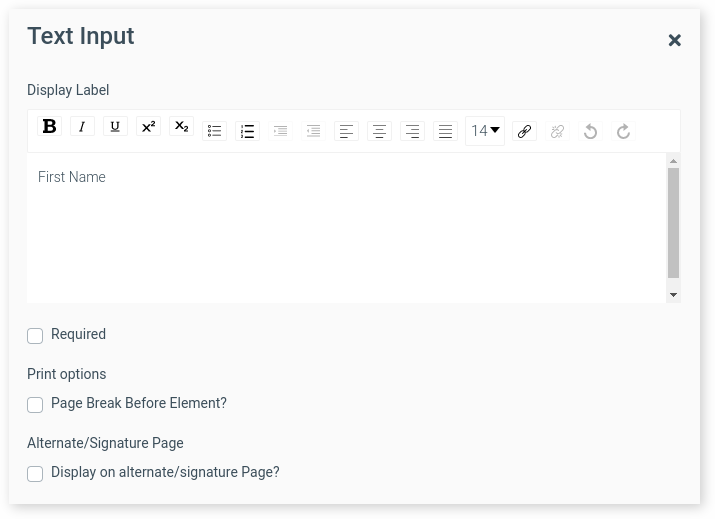
This could be any fields for personal details, appointment details or other.

To add a description, press the Edit button

Enter in Input name
Required Fields
On most tools you will have the option to mark it as Required.

When ticked, this will make a specific answered required to be filled out for the Form to be submitted.
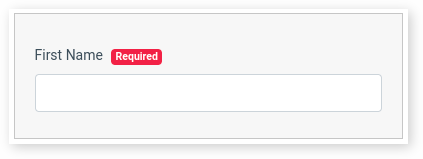
This is important for any medical or personal information.
Previewing Form
To confirm the Form is displayed correctly, you can Preview it at any point.

Saving the Form
Don’t forget to Save the newly created Form, this can be done easily by pressing the Save Form button at the top of the page.

Adding More Tools
There are many more tools that can be utilised and added to to your Form, Click Here to continue reading.
To read more about Forms in general, be sure to view our Form Overview page.
