Do you have a discount reason you wish to apply regularly? You may not want to type the details in each time, rather, select them from a list and have them auto applied.
When you create a discount reason in Client Diary, it will then stay in the system for use next time.
- Perform a normal transaction (link on how to do this)
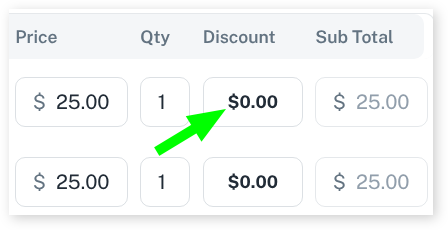
- In the POS screen, select the $0.00 discount area next to the item you wish to discount
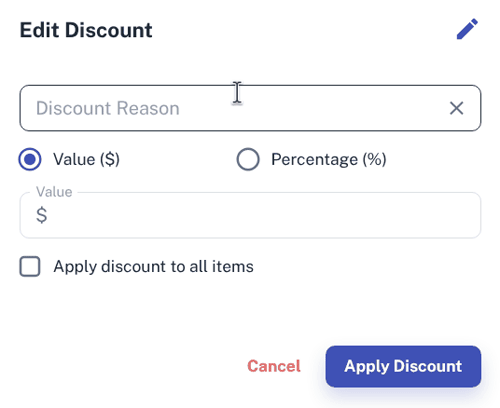
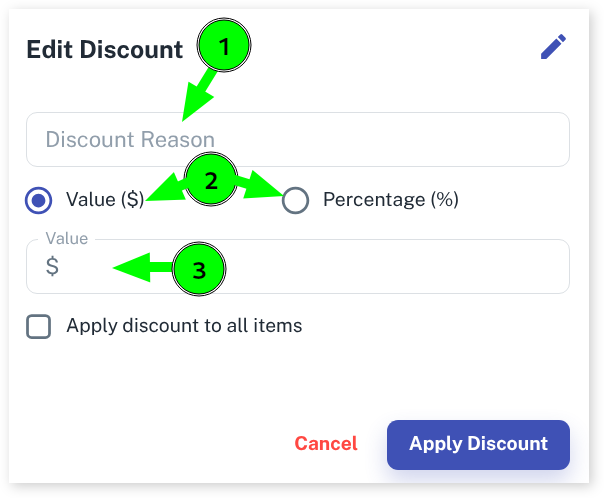
- Give the discount a name in the Discount Reason input area
- Choose Percentage (%) or Value ($)
- Enter the Percent or value
- Press the Apply Discount button
- Now, if you finalise the sale like normal, the next time you come to the POS screen and select the discount input you will see the saved discount in the list.