Payment Links are quick and easy to setup. This guide will show how to get started.
Where to Find Payment Links
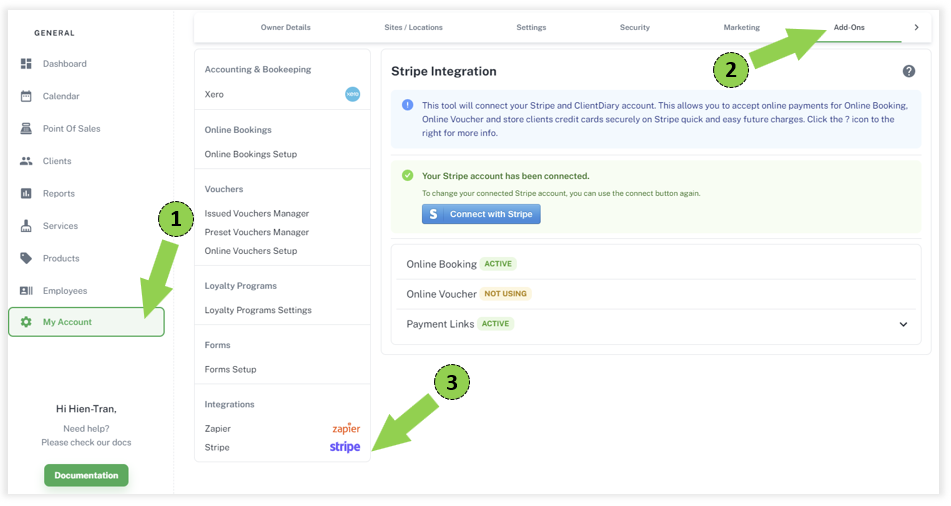
- Select the My Account menu
- Click on Add-Ons tab
- Select Stripe under the Integrations list
Note: To use Payment Links, you need a Stripe account.
- If you have already connected your Stripe account to Client Diary for Online Bookings or Online Vouchers, you can skip this step.
- If you have not connected, click the Connect with Stripe button and follow instructions on screen to login (or create Stripe account if you don’t have one) and connect Stripe to Client Diary.
Setup Payment Links
- Start by clicking Payment Links to open up the settings
- Switch on Active
How do my clients know the payment link is safe to click on?
Our payment links from Stripe are legit. However, there are many attempted scams regarding SMS and Client Diary cannot guarantee or protect your client from SMS spoofing.
The best way is to raise scam awareness, let your clients know you are sending them a SMS and advise them to contact you if they have any doubts.
- Decide who pays the transaction fees. You can click on the calculator icon to open the Transaction Fees Calculator, where you can simulate different request amounts and estimate how much your clients will pay and how much you will receive after fees deduction based on your fees structure.
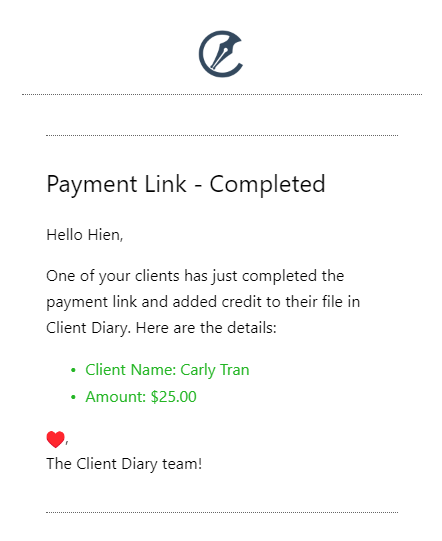
- Decide if Client Diary should send you an email whenever your clients complete a payment link.
- Click Save at the bottom.
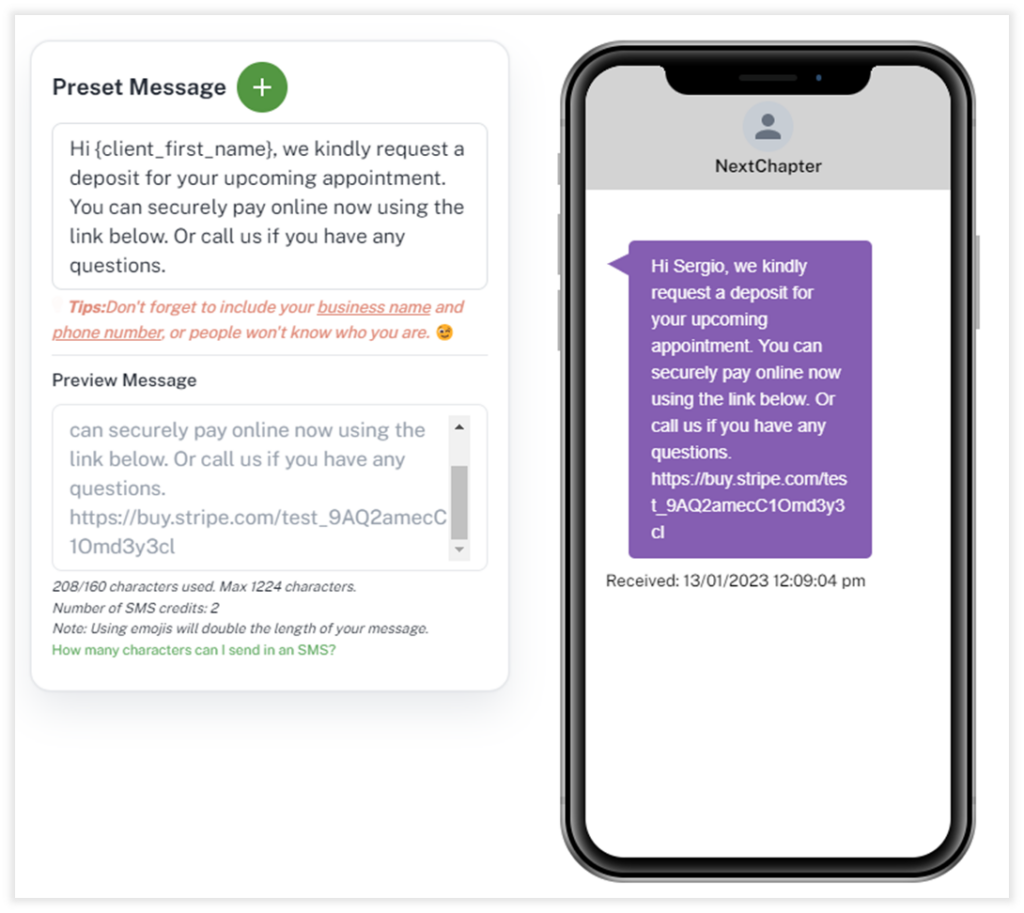
Customise Payment Links SMS
Payment Links SMS can be customised to suit your business style. However, as the SMS will be sent using Sender ID, clients will not be able to reply as there is no sending number to reply to. Therefore, you should include your full business name and contact number in the message.
Note: The Payment Links will be automatically generated and added at the end of your message at the time of sending.
Preset Options for Appointments
Client Diary also offers the ability to automatically send deposit payment requests when you create the appointment. With preset options, Client Diary will calculate the request amount per appointment based on the percentage of the appointment price.
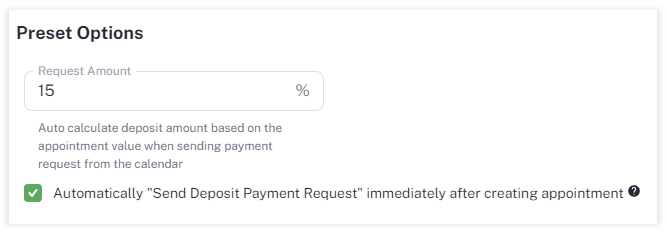
Below is an example of what you can see when creating appointments on the calendar when Automatically “Send Deposit Payment Request” option is selected.
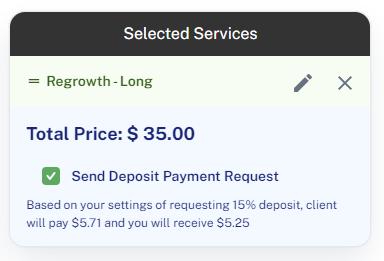
You can always select/unselect this option from the calendar per appointment depending on your business requirements.
Now that you have set up Payment Links, let’s learn
To read more about Payment Links in general, be sure to view our Payment Links Overview page.