If you are new to Client Diary and want to set up your system from scratch, this is the place to be. This assumes you don’t want to import any data from another system and you’re ready to get Client Diary ready for use. Getting Client Diary set up properly will make using it a pleasure.
(If you DO want to import data from another system, please contact us and let us help you with that. We import data at no cost and it’s important to do it before you start fully setting up the system.)
Log into Client Diary (if you already signed up for a trial)
- Log in at : https://app.clientdiary.com and do so in your browser. Setup is always recommended on a computer, not on a phone. You can use your phone later, but please do all setup on laptop or tablet first for ease of setup.
- Your email address will be what you entered on sign-up. If you forgot your email, simply get in touch and we can let you know what it was.
- Your Password is not known to us as it’s encrypted. Try your common ones and if you need, you can always request a new password on the password screen.
- Your PIN is a 4 digit security code that was emailed to you in the very first email that we sent you when you signed up. If you don’t have your PIN, there is a link called “SEND ME MY PIN” which will email it to you again.

Steps to Help you Complete your Setup
You may have already done some of these, but if not, some suggested steps to ensure the system is ready to go including:
Employees
- Re-order Staff so they appear in the correct columns
- Setup Staff Repeating Rosters or their Custom Weekly Rosters
- Setup Staff Targets
- Setup your Security Settings for staff
- Setup Service Skills (if required)
- Arrange for your appointments to be emailed each day
- Add the Telegram Bot (for any staff that use the Telegram messaging app)
Services
- Adjust any pricing or timing if you wish
- Remove any old services you may not want anymore
- Setup Bundles / Grouped Services / Packages
- Setup tiered pricing for staff
Clients
System / Config
Marketing
- Turn on your SMS reminders
- Setup your Online Booking
- Setup your Online Vouchers
- Setup your New Client Welcome messages
- Setup your Non Returning Client messages
- Setup any automated pre-service instructions you want to send for specific services
- Setup any follow up / after care messages for specific services
- How to add SMS Credits
It’s a few steps to go through but only set up what you need. Pick the ones for you. It usually takes about half an hour to an hour.
Once done, your system will be set up and ready to go. There are many other options of course but that’s the basics to ensure you’re using the key systems.
Usage Tips to get Started
- How to create an appointment
- Deleting / Cancelling an appointment
- Editing an appointment
- Blocking out time
- Moving an appointment to another day
- Adding appointment notes
- Marking a client as a “no show”
- Using the Waiting List
- Approving / Denying an Online Booking
For a complete list of getting started tips we recommend checking out this set of guides for new users.
Training Links
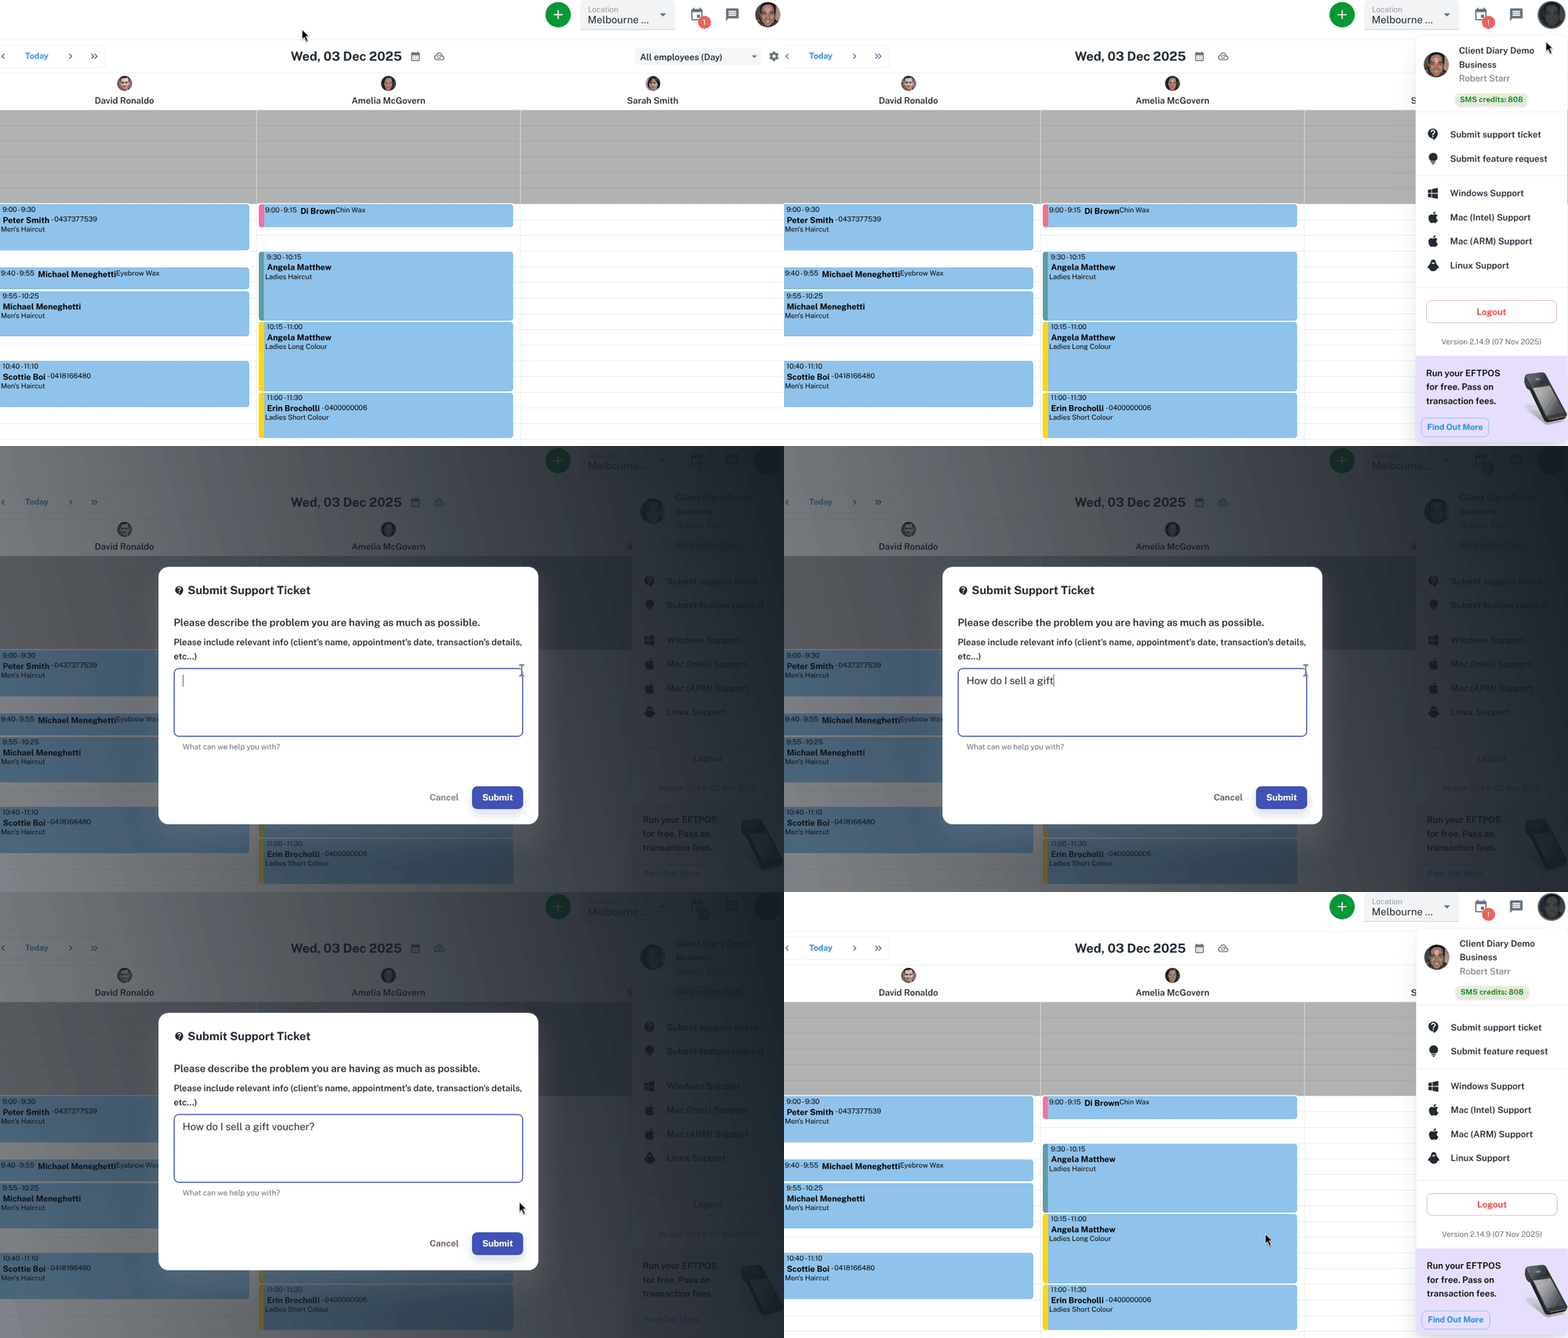
If you need any help, please be sure to use the inbuilt support system as shown in this image, as it will get straight to our support team and get a fast response.

